As social media continues to emerge, changes to the different channels constantly evolve. While more and more users are seeing the benefits that Twitter has to offer, the micro-blogging site is ever-changing. One of the most beneficial features this channel has to offer are Twitter Lists, providing a more organized and user-friendly platform.
 This feature is Twitter’s way of allowing users to organize other users around related categories, topics, or industries. When these lists are created, they provide a stream of only those users compiled within that specific list; this acts as “blinders” for Twitter users, to focus in on only specific users of interest at a particular time.
With Twitter Lists, users have several benefits provided to them. For one, they can group together like-users to offer a simplistic angle to the channel. Additionally, these lists can be created to allow users to recommend others on Twitter. Arguably the most beneficial feature is the ability to follow people users aren’t already following. When users create a list, they do not have to follow the users within the list; should a user be on a list and not followed, their tweets will only be seen if the list is opened, rather than appearing in the main stream of tweets.
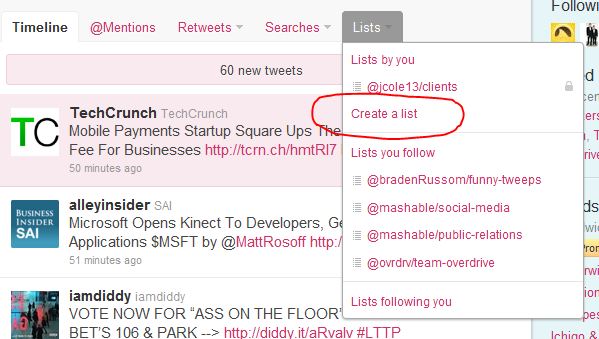
When it comes time to create your own list, its a very simple process. When signed into Twitter, users will see the “List” link right above the home screen. When clicked, users will see a drop down box with the option “Create a List”.
When prompted, you will need to create a List name (this will also serve as the list URL in this format: twitter.com/username/list-name), description, and decide if it will be a public or private list.
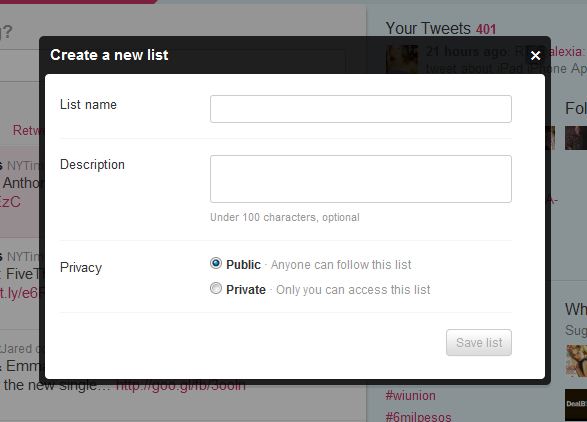
To decide between a public or private list, there is one key difference. A public list can be viewed by anyone; these are ideal for users who create lists of recommended users. When private lists are created, they can only be viewed by the creator of that list; this is ideal for a competitor list – the creator of the group can view this information, but no one else.
Once these lists have been created, the next step is to add users. So, while users are found on Twitter that fall within the list category, clicking on the list button will drop down all of the created lists to add that user to. Keep in mind that for each user there is a maximum of 20 lists allowed, with 500 users in each list.
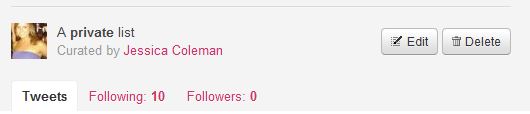
Finding your lists are very easy. In the same “List” link at the top of the home screen you can easily browse through your created lists in the drop down box. Once one has been selected, that list’s specific tweet stream will show up. When clicking on “View list page”, further information such as the description of the list can be found. Should you no longer want the list, the list page provides a “Delete” option.
From the user side of lists, Twitter shares how many lists each user is in right on the home page as well as the user profile view.
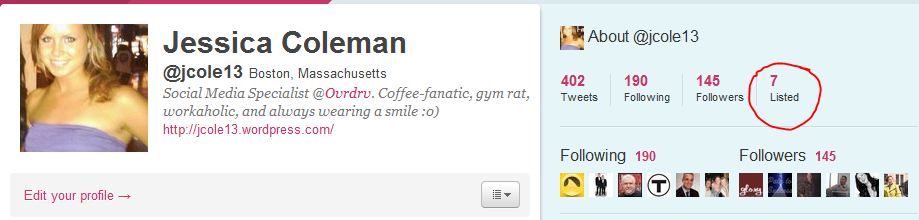
By clicking on the number, you can see which lists you are associated with. If for some reason you do not want to be part of a list, blocking the creator of the list will remove you. However, this will also cause them to unfollow you simultaneously.
When Twitter Lists were presented to the social media world over a year ago, they provided very similar features. Since the launch of this feature, even more changes have been made to provide an easier user interface. As Twitter Lists become adopted by marketers, business and the online community, it is expected more transformations will take place in the future.